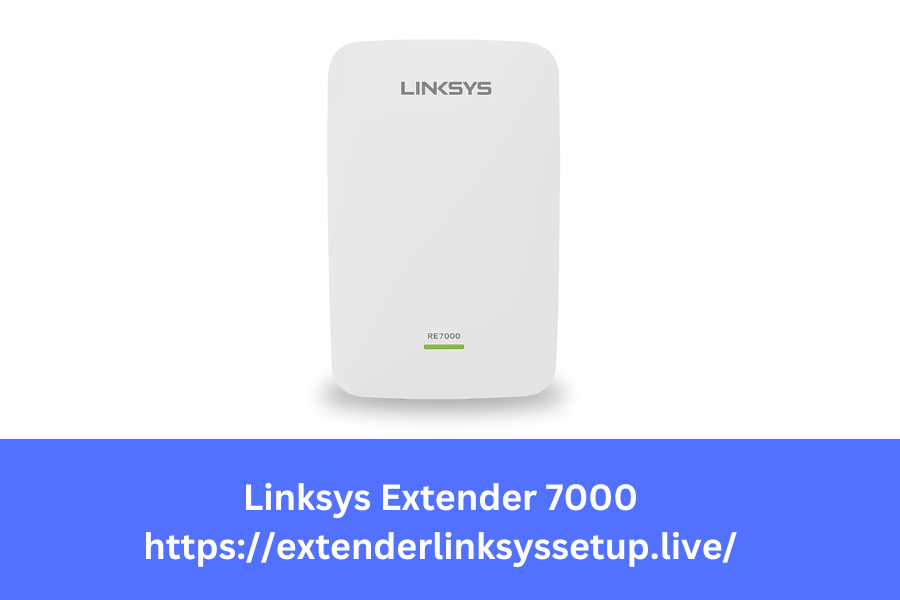
Enhance Your Wi-Fi Coverage with Ease: A Complete Guide to Setting Up the Linksys RE7000 Extender Setup
In today’s connected world, increasing the coverage of your Wi-Fi network at home or at the office is a common demand. Dead zones and poor signal quality can reduce enjoyment and productivity, but you can easily increase your Wi-Fi range with the correct solution, like the Linksys RE7000 extender configuration. We’ll walk you through the Linksys RE7000 extender setup step-by-step in this blog post so you can have uninterrupted access across your room.
Introduction to the Linksys RE7000 Extender Setup
A dual-band Wi-Fi range extender, the Linksys RE7000 is made to improve coverage and get rid of dead spots in your house or place of business. It offers dependable, quick Wi-Fi anywhere you need it thanks to its MU-MIMO (Multi-User, Multiple-Input, Multiple-Output) technology and smooth roaming capabilities. It is a practical alternative for enhancing your wireless network because of its small size and simple configuration.
Step-by-Step Setup Guide
Positioning: Pick a strategic spot that is halfway between your router and the region that needs more coverage. Make that the extender is connected to your current wireless network.
Turn on the Linksys RE7000 by plugging it into a power outlet and watching for the orange blinking LED signal.
Connect to the Extender: Open the Wi-Fi settings on your computer or mobile device, then select the extender’s default SSID (network name), which usually begins with “Linksys Extender Setup.”
Open your web browser: In the address box of an open web browser, type “http://extender.linksys.com” and hit Enter. This will cause your extender’s setup interface to open.
Advanced Features and Optimization Tips
Once your Linksys RE7000 extender is set up, you can explore additional features and settings to optimize your network experience:
Positioning: Pick a strategic spot that is halfway between your router and the region that needs more coverage. Make that the extender is connected to your current wireless network.
Turn on the Linksys RE7000 by plugging it into a power outlet and watching for the orange blinking LED signal.
Connect to the Extender: Open the Wi-Fi settings on your computer or mobile device, then select the extender’s default SSID (network name), which usually begins with “Linksys Extender Setup.”
Open your web browser: In the address box of an open web browser, type “http://extender.linksys.com” and hit Enter. This will cause your extender’s setup interface to open.
Configuration Wizard: Observe the guidance furnished by the setup wizard. This will walk you through setting up your extension, such as choosing
Conclusion
You can easily and hassle-free increase the coverage of your Wi-Fi with the Linksys RE7000 extender. Through the simple setup instructions provided in this tutorial, you may take advantage of advanced capabilities and have fast and dependable internet access throughout your home or office. With the Linksys RE7000 extender, bid dead zones farewell and welcome to uninterrupted streaming, browsing, and productivity.