A private IP address, 192.168.1.1, is used to access your router’s admin interface. It can be used to adjust a variety of router settings and is frequently set as the default gateway address by router manufacturers.
How to Login to 192.168.1.1?
To access 192.168.1.1, take the following actions:
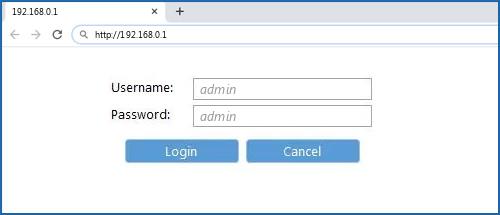
- Open a web browser and enter 192.168.1.1 in the URL bar or navigate to http://192.168.1.1.
- A login screen will appear and ask for your password and username.
- In the designated fields, type the password and username.
- You are now logged into the admin interface of the router.
Note: Try using another IP address, such as 192.168.0.1 or 10.0.0.1, if you are unable to access the router’s admin panel at 192.168.1.1.
You will need to do a factory reset if you have changed the password and forgotten it. To accomplish this, search the back of your router for a tiny, concealed reset button. Press and hold that button with a paperclip or pin for ten to fifteen seconds. The router will reset to factory settings after rebooting.
How can the root IP address of the router be changed?
Your Internet service provider will often pre-assign the default gateway IP address, although users can customise it to suit their needs. It’s frequently altered to reduce DDoS attacks, stop illegal access to your admin panel, or provide an additional degree of protection. Here’s how to accomplish it:
How to Login to 192.168.1.1 Regarding TP-Link:
- Enter the default admin panel at 192.168.0.1 or 192.168.1.1. The username and password are admin/admin.
- Navigate to Advanced Settings > LAN > Network.
- You can modify the “IP Address” field to whatever address you’d like, such as 192.168.1.2.
- The router will reboot once you save it and the modifications take effect.
How to Login to 192.168.1.1 Regarding D-Link:
- Access the router’s setup page by logging in with the admin login and admin/blank password.
- Select Network Settings under Setup.
- The router’s IP address field is now visible.
- After making your desired change, save the configuration.
Regarding Netgear:
- Use 192.168.1.1 or 192.168.0.1 to access the router settings page, or go to http://www.routerlogin.net or http://www.routerlogin.com.
- Admin is the default username, while password is the default password.
- Navigate to Advanced > Setup > LAN Setup after logging in.
- You can find the IP address under LAN TCP/IP Setup. Modify it to your preference.
- After making the modifications, the machine will reboot to update the configuration.
You can restore all customisations by resetting your router to its factory defaults in the event that something goes wrong throughout the procedure.
It’s essential to secure your WiFi network to stop unwanted access. Adhere to fundamental guidelines such as activating WPA2 encryption, creating a strong password, disabling WPS—which is an antiquated technique for network synchronization—enabling MAC address filtering, and periodically updating the firmware on your router. This is a comprehensive guide about protecting your WiFi network.