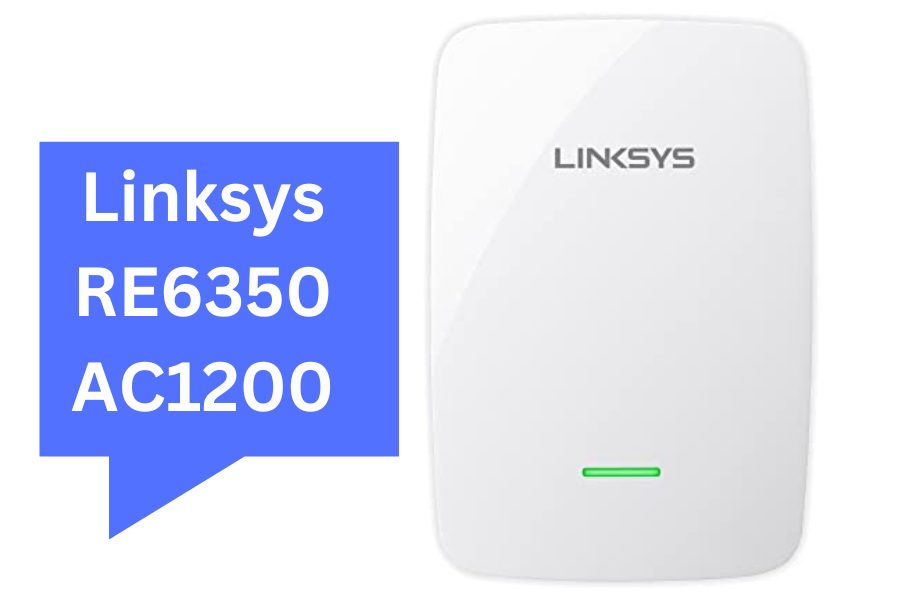
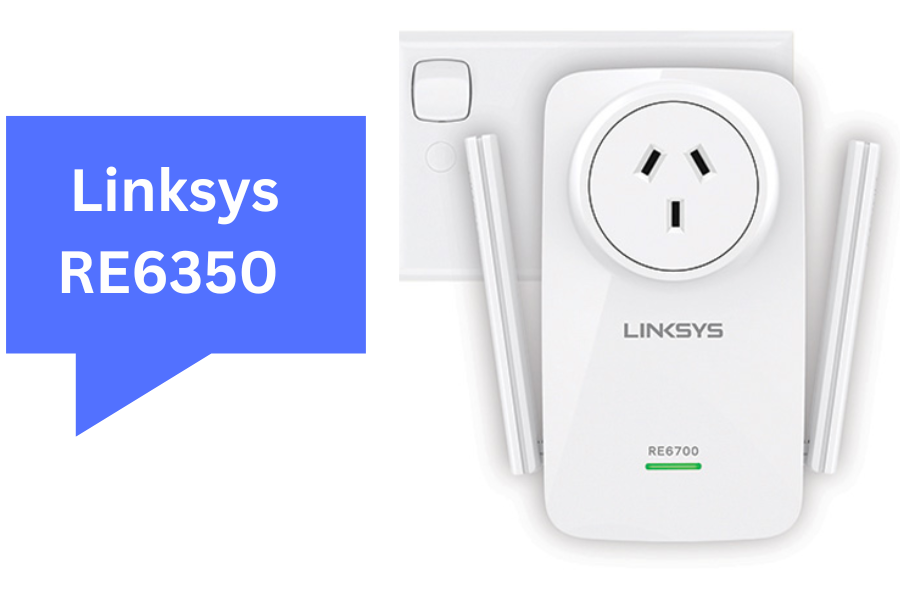
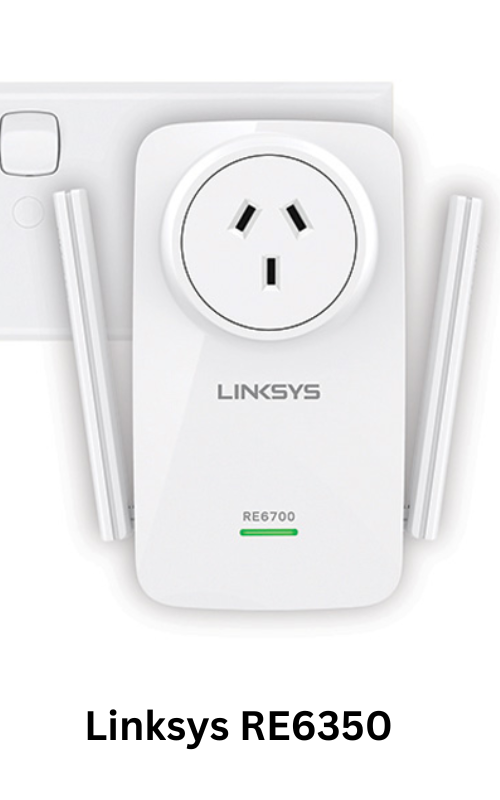
Linksys RE6350 AC1200
Linksys AC1200 twin band wifi variety extender re6350 is a main twin-band wi-fi extender assisting upto 1200mbps records speeds and dealing with dead wifi corners of your home. This extender is easy to install and can be deployed or used in a count of minutes. The Linksys RE6350 setup process is straightforward and may be finished in some easy steps.
If you’ve currently upgraded to this tool and want assistance with placing it up, this guide will help you. You will even discover ways to restore fundamental troubles of Linksys RE6350 wifi extender easily.
LINKSYS EXTENDER SETUP RE6350
Setting up your Linksys RE6350 extender is a breeze with the clean and simple web browser method. You can run the setup on a web browser even without an internet connection, making the process quick and hassle-free. However, there are some important things to keep in mind to ensure a smooth setup process.
- Before you begin with the setup, make sure you have the following things handy:
- An active 2.4GHz or 5GHz WiFi connection
- WiFi name and password for the main router network
- Default IP address/net address for the extender
- Ethernet cable(s) for wired connections
By keeping these things in mind and following the steps outlined in the setup guide, you’ll have your Linksys RE6350 extender up and running in no time, providing you with a wider coverage area and stronger signal strength.
PREPARING THE DEVICES FOR Linksys RE6350 AC1200
To begin setting up your Linksys RE6350 extender, simply plug it into a power outlet near your main router and turn on the power supply. Wait for the LED indicator to light up orange, indicating that the extender is ready to be configured.
- Next, connect your computer to the extender using either a wired or wireless connection and check the signal quality you are receiving from the extender.
- Once you are connected, launch your web browser and type in the default web address http://extender.linksys.com in the address bar. Press Enter to launch the login wizard.
- If this is the first time setting up the extender or after a device reset, you will be guided to the setup screen directly. If this is not the first time, you will need to provide the default credentials. In this case, enter the admin username and password and then click on the Sign In button.
- Afterward, accept the End User License Agreement and select the option for automatic software updates. Finally, click on the Start Setup button on the welcome screen to complete the setup process.
EXTENDER.LINKSYS.COM RE6350 SETUP
- Once the Linksys RE6350 extender is powered on, the setup wizard will scan for available Wi-Fi router networks in your area. You will be presented with a list of the available networks on the next screen. Follow these steps to continue with the setup:
- On the “Choose your Wireless Network” screen, select your Wi-Fi network name and enter the network password. Click on “Next” to proceed.
- On the next screen, you can customize the extender’s network bands. Specify SSIDs for both the 2.4GHz and 5GHz network bands and secure them with a strong password. Enter the password in the field and select the Security Mode from the available options. Click on “Next” to continue.
- The “Spot Finder” page will now appear on the screen, displaying the signal strength that your extender is receiving from the main router device. Use the “Find Better Location” button to adjust the extender’s placement until you see the “Just Right” icon on the screen.
- Once the location has been finalized, click on the “Back” button to resume the setup process.
- On the next screen, secure your range extender using a default admin and password. Specify the details in the “Secure Your Range Extender” screen and finally, click on “Save”.
- The next setup window will prompt you to register your Linksys RE6350 extender. Enter the required information and click on the “Next” button.
- The Linksys extender setup RE6350 wizard will now check for a firmware update. If available, it will proceed with the update process. Allow the extender to download and install the update.
- Once the process is complete and the device has rebooted, you can connect your computer and other wireless devices to the newly configured network.
WHAT DO LIGHTS MEAN ON LINKSYS RE6350 WIFI EXTENDER?
There is most effective one LED in your Linksys Re6350 extender. However, special shades on it imply special statuses. Here are a few information into the mild codes and their description:
Light Color/Pattern | Indication |
Green (Blinking) | The extender is booting up. The extender is being reset to factory settings. Firmware update is in progress |
Solid Green | Ready to use |
Solid Orange | Weak Connection. Try moving the extender closer to the main router. |
Orange (Blinking) | Disconnected from the router network. Ensure that the router has an internet connection and the WiFi is enabled. Move the range extender closer to the router and reconnect to it. WPS pairing has failed. |
LINKSYS RE6350 WPS SETUP
Your Linksys AC1200 Dual-Band wifi range extender RE6350 can also be set up conveniently using the WiFi protected Setup method. Here are some steps you can follow to do that:
- Plug your Linksys RE6350 into a power outlet and wait for the LED light to blink orange.
- Press and hold the WPS button on your wireless router for a few seconds.
- Within 2 minutes, press the WPS button on your Linksys RE6350.
- Wait for the LED light on the extender to turn solid green, indicating a successful connection.
- Connect your devices to the extended network.
That’s it! Your Linksys RE6350 WPS setup is now entire and you could join your gadgets to the prolonged community easily.
HOW TO FIX BASIC ISSUES OF LINKSYS RE6350 WIFI EXTENDER?
- Ensure that you are using the correct WiFi password to connect to the router network, with the exact case and sequence used during the setup process.
- Keep the range extender near the main router during the syncing process. After the two devices have paired, you can move the range extender to its final location.
- Remove any obstructions that may interfere with signal propagation and avoid placing the extender near devices and appliances that may cause interference.
Importance of Linksys RE6350 AC1200
The Linksys AC1200 Dual-Band WiFi Range Extender RE6350 is a high-performance device that supports data speeds of up to 1200Mbps and beamforming technology, ensuring coverage in even the remotest corners of your home. Whether you prefer using the WPS or manual internet-based method, this extender is easy to set up and can be deployed in a matter of minutes. The Linksys RE6350 setup process is straightforward and can be completed in just a few easy-to-follow steps.
If you have recently upgraded to this device and require assistance with the setup, this page will guide you through the entire process. You will also learn how to troubleshoot basic issues with your Linksys RE6350 WiFi extender.
Before you begin with the setup, make sure that you have the following things handy:
- An active 2.4GHz or 5GHz WiFi connection
- WiFi Name and password for the precept router network
- Default IP address/net address for the extender
- Ethernet cable(s) for harassed out connections
PREPARING THE DEVICES FOR LINKSYS RE6350 AC1200
- Plug your Linksys RE6350 extender into a power outlet near your main router.
- Turn on the power supply and wait for the LED indicator to light up orange.
- Connect your computer to the range extender using either a wired or wireless connection.
- Check the signal quality you’re receiving on your computer/wireless device from the extender.
- Launch an internet browser and type in the default web address http://extender.linksys.com in the address bar. Press Enter to launch the login wizard.
- If you’re setting up the extender for the first time, or after a device reset, you’ll be guided to the setup screen directly.
- If this is not your first time accessing the extender, you’ll need to provide the default credentials, which are the admin username and password. Click on the Sign in button after entering them.
- Accept the End User License Agreement and choose the Automatic software updates option.
- Finally, click on the Start Setup button from the main welcome screen to complete the setup process.